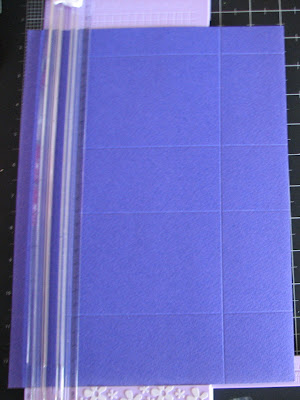
1 pc Cardstock - 8.5 "x 11"
Trimmer with or without bone scorer blade
Bone Scorer (if you have a trimmer with a scoring blade you don;t need this)
Scissors
Crop-a-dile
Cuttlebug
Cuttlebug Embossing Folder
Nestabilities Dies - Oval Scallop and Rectangle Scallop
Super Tape
Ink Pad
Stamp
2" Scallop Punch
Ribbon
Acetate

Step 1 - Place your cardstock horizontally on your trimmer and score at 2", 5", 7" & 10"

Step 2 - Turn cardstock vertically and score at 2" & 7"
 Step 3 - Holding cardstock horizontally with the small section at bottom, cut all but one section off. Next on 2" section cut off small piece and then cut all fold lines up to horizontal fold line making flaps.
Step 4 - Place oval nestability onto front section and run through cuttlebug (tape into place so it doesn't move)

Step 5 - place rectangle nestability with only one edge under cardstock so only the one edge cuts.

Step 6 - fold the box in half and run through cuttlebug using embossing folder
 Step 7 - place super tape on side flap and bottom flap
Step 8 - Stick a piece of acetate over oval and then fold box up.

Step 9 - Punch Holes for ribbon
Step 10 - stamp image and punch out with scallop punch (or nestability) attach to box with ribbon.
Thank you to all who attended my demo on Saturday you were all so lovely i had a great time
Kerrie


